If you have successfully worked your way through this level, you should be able to create some decent looking models in AutoCAD. The next step is learning to render them. This lesson will include a look at the new lighting and rendering options in AutoCAD 2007.
Looking at the image below, from Lesson 3-16, you'll notice that it has a background of clouds, shadows and looks (if you squint) real. You should already know how to create the model, view in a perspective view, add materials, map them and look at them in the viewport. The next step is to create lighting, add a background and render the scene out to a file.

This lesson will use the house model as an example. If you didn't draw it (yes, you should have) here is file that you can download as well as the textures used.
Here's the drawing 'as-is' with the Visual Style set to Realistic - with materials added, but not mapped.
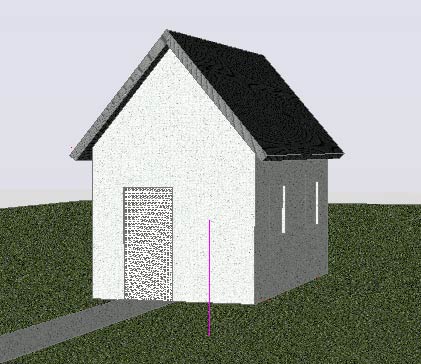
Note that it looks very rough at this point
Now with the materials mapped, it's starting to look more realistic:

Looking better, but not there yet.
Next step is to add a background to the scene. To do this, you'll have to create a new view. Set up a perspective view similar to what's shown above (see Lesson 3-4) and name it using the VIEW command. The comes with a ready made perspective view (PERS). Click on this. Under the General settings, you will see one for Background. Select this and choose Image. This overrides other background settings used in other views.

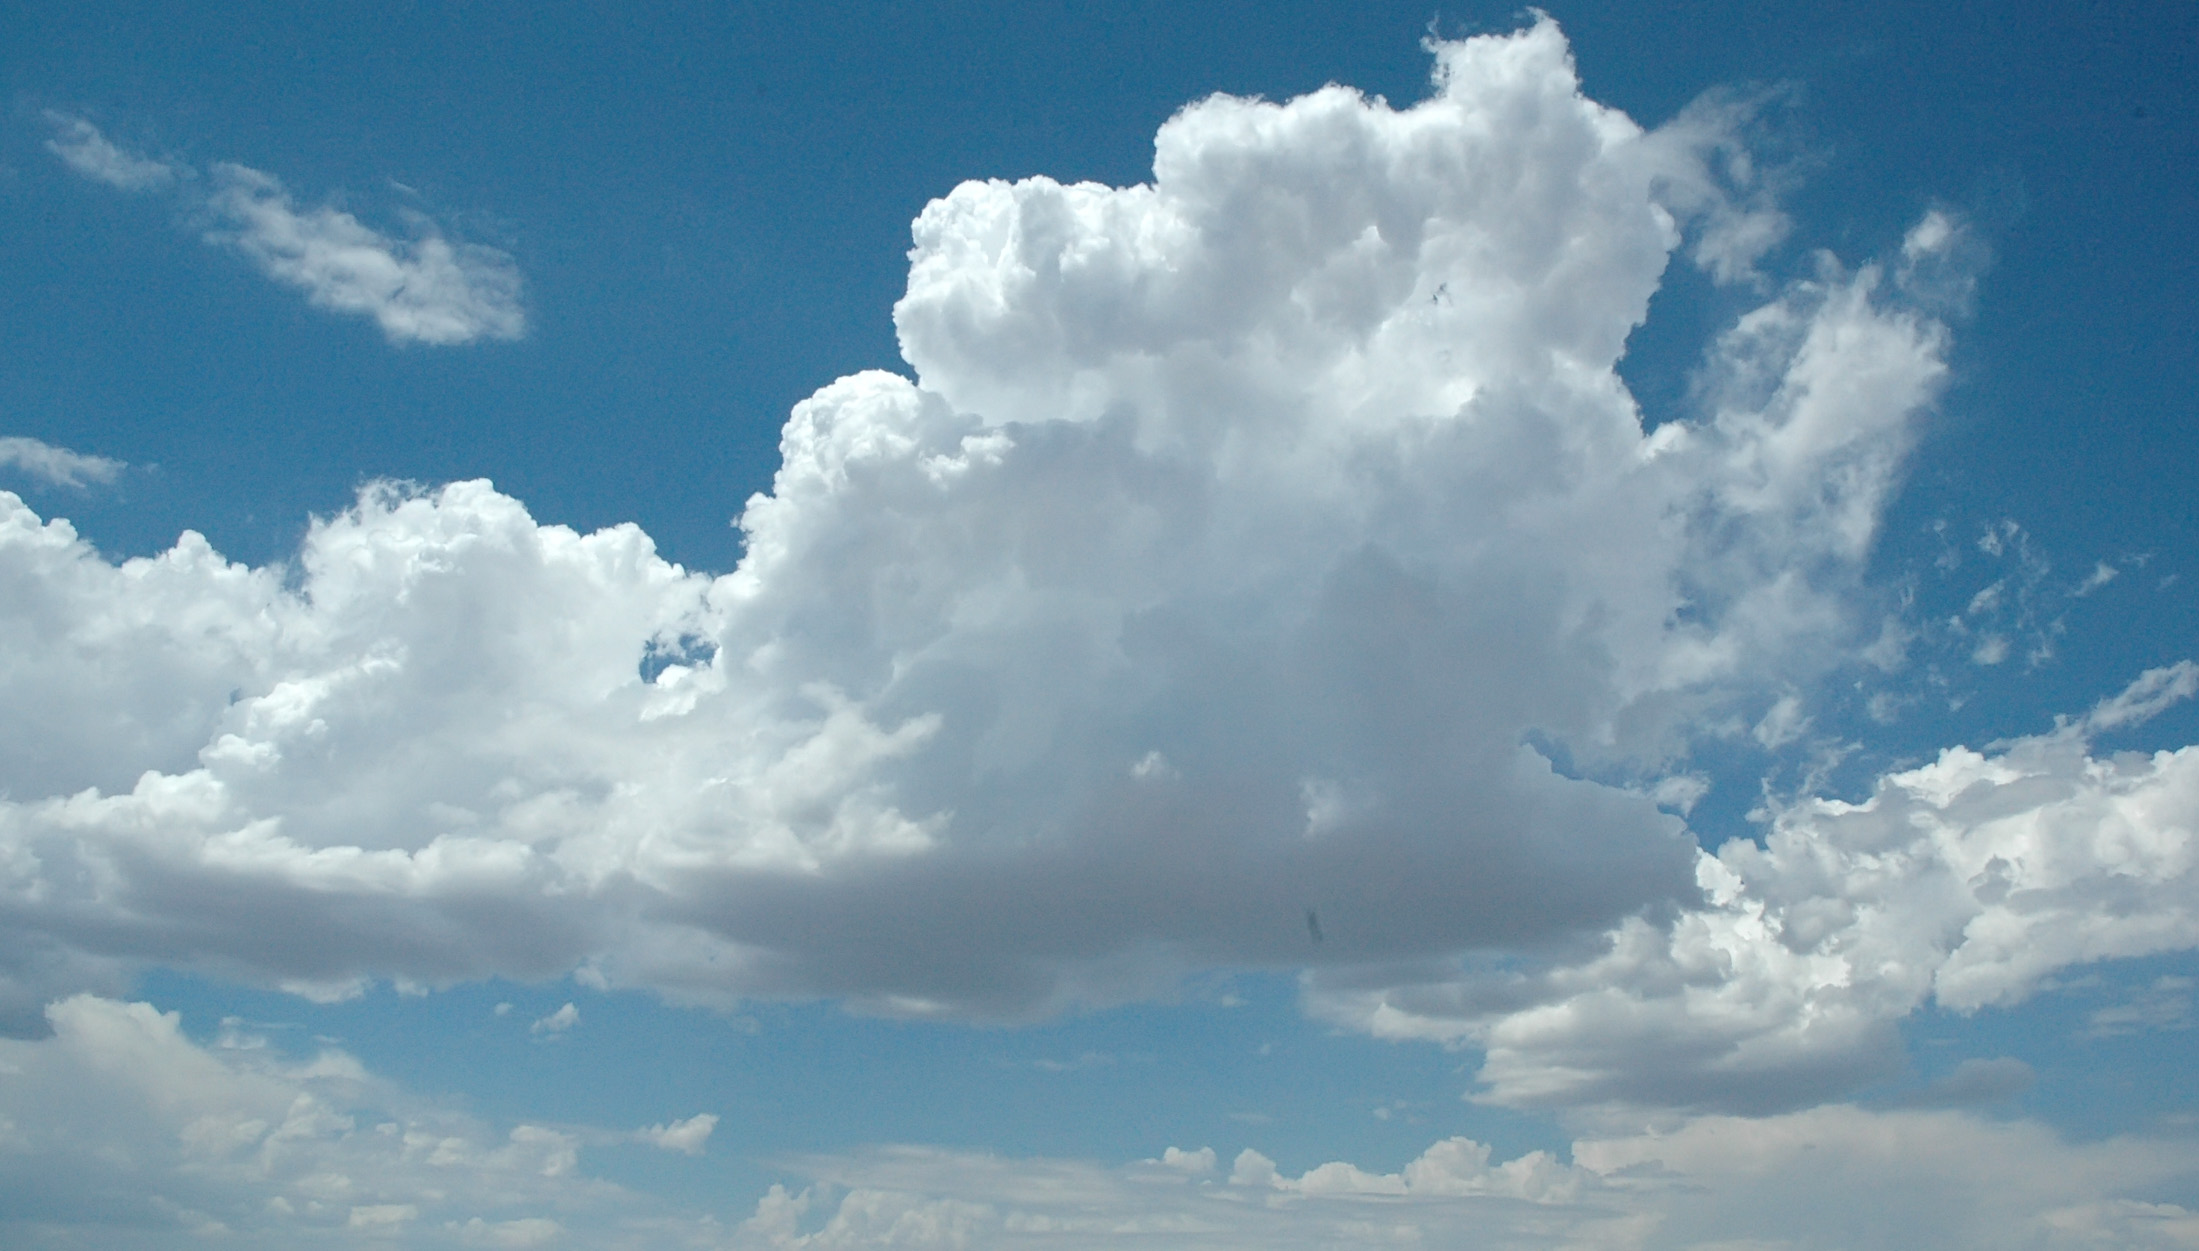
Find the sky.jpg and select it in the next dialog, then select the "Adjust Image " button.

This will give you the next dialog that allows to scale the image for the background. This is similar to setting your Windows desktop background. Choose Stretch in this example.

Press OK and OK and Apply and OK to get back to the drawing screen. If all went well, then it should look something like this:

Ok, not the best background, but you now know the concept.
So now you have the model, the materials, the mapping and the background. All that is left is some light and shadows. There are three types of lights in AutoCAD: Point, Spotlight and Distance. I'll show how each one is created and adjusted.
One form of a distance light is the Sun (most distance of all light).
To do this, type in SUNPROPERTIES or (menu: Render > Sun and Location). It will give you this palette:
 |
This palette allows you to control the Sun. Yes, it sounds very powerful, and it is.
First you must turn on the Sun, if it isn't already. Then select the time and day sometime you like (in daylight). Finally, pick on the "Launch Geographic Location" button shown to the left. This will open a dialog that will allow you to pick the nearest city to you or your exact coordinates.
As you set it, you should see the results in your drawing area. If it seems too bright, you can also adjust the intensity of the Sun.
Try different settings until you get the look that you like.
Note: If you selected Las Vegas as your Location, and you have lawn, your water bill will be quite expensive. |
To render the scene, type in RENDER. You should get something like this:

Now that you see how it works, you can try different settings. Earlier in the day should produce longer shadows than at midday.
You can also control the sun from the ribbon.

The button the left for Sun Status will turn the sun On or Off (in the image above, it is on). This is a quick way to work with the sun. You can also type in SUNSTATUS and give the variable 1 (on) or Zero (off).
Spotlight
The next type of light to add is a spot light. We're going to add a safety light above the door for night time. First you want to change the background from the sky image to night. Instead of using another image, choose the gradient option in the View Manager > Background Option. Try to get a black to dark blue gradient.

If you perform a render now, you will get a nice twilight background and generic lighting.

For something a little more dramatic, it's time to add a spotlight. This will be placed under the peak of the roof and point straight down.
Look for the Lights Tool Panel on the Render ribbon.

This is easy enough - just click on the button and you will have the choice of where you want your light and what direction you want to point it. In this example, pick the endpoint (osnaps) under the peak of the roof and point straight down to the ground (ortho).

Once your light is placed, press <ENTER>. Now select the light glyph and you will see the default spread of the beam that the light will cast. (You might want to switch to your SW ISO view first).
Radiating from the glyph are two cones. The outer one is for falloff, the inner one is for hot spot. Think about how a flashlight works. You have an intense beam in the middle, then it dissipates out to the sides. By clicking on the bottom of the cones, you can adjust these settings easily.

Make some adjustments (go back to your pers view) and then perform a render. Pretty cool, eh?

Point Light
Another light option is a point light. Think of this a light bulb you would have in a reading lamp. Point lights radiate light in all directions evenly (unlike the directional spotlight). In this example, we're going to add a point light inside the building and let its light shine out the windows. We'll keep the twilight look.
From the same light tool panel that you used to place the spotlight, select Point Light and place inside the building in the larger room. Check from other views to make sure that you placed it correctly. You may find that you need to move it. Once you have it placed, perform a render.
You will probably find that the light isn't very bright. In fact it needs to be brighter to show through the windows. Click on the point light glyph and press CTRL+1 to bring up the properties palette.

In the image above, you can see the I have changed the Intensity Factor to 6. This should make the light bright enough to be seen. Change this setting in your drawing and try another render.
Below is what I have after moving the view slightly (with 3DO) to show more of the ground where the light from the window hits.

Now that you have a decent looking image, you can try some more settings. try increasing or decreasing the Intensity Factor for the Spotlight. Try adding another point light inside. Remove the interior door to get light into the small room. Try adding a street light to light the exterior of the building a little. Add a Distance light off to the side and try different intensities. Yes, I know I didn't show you how to add a Distance Light, but I believe that you can figure it out now (distance light is the easiest).
To see how many lights you have in your drawing and access them quickly for changing settings, click on the bottom right corner of the Lights tool panel.
Draw a light for the safety light and put the spot light where the bulb should go. Add some window panes to get more dramatic lighting.
The most important thing with lighting is to experiment. Try different locations and settings. Now that you know the basics, it's up to you to explore.
Render Settings
Now when you render a final image, there are many options available to you. Mostly it depends on the end use of the rendering. To adjust these settings, type in RPREF (Render > Advanced Render Settings...) to get this palette full of options.

To get a good quality rendering like the one above, set the top setting to Presentation. This will set the defaults to the best settings. Make sure that you have materials and shadows on. Render out to the window and choose the size that you want it to be. Once you have the setting you want, type RENDER again and view your results. If you like what you have done, you can save an image file from the render window.

That's the basics of rendering, practice with different settings and even experiment with light.
Once again, you have learned some easy tools that will allow to produce a good rendering of an object. Of course there are many variations and a lot of detail would go into a larger corporate presentation, but it only takes time, practice and experience.
For practice, many people will measure out their home and model it and then render it. This is a great exercise. Also, here is a good site that offers some more advanced 3D exercises.
|

